Uchi komi is an exercise from the low guard to the midline (ge-dan to chu-dan) and finding shidachi’s blade on the center-line. In FMA terms, it is a vertical play on the 11/12 line.
Kiri kaeshi is a horizontal play on the 3/4 line delivered from 5 – seigan-no-kamai position.

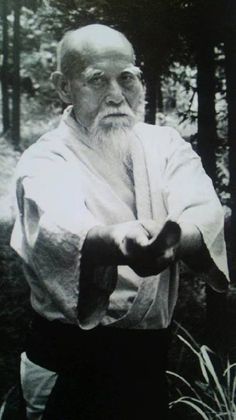
I am blending ‘languages’ to illustrate connections – I am trying to add means of comprehension, not obfuscation.
From the moment of contact – kissaki crossed – uchidachi opens by turning his blade flat, keeping contact with shidachi’s ken, riding it down to the tsuba, attacking shidachi’s thumb. Uchidachi must keep a pressing energy while riding the blade down. Shidachi must withdraw to avoid the cut and, while keeping contact as long as possible (i.e. riding the uhcidachi’s sword back) to deliver a cut back at uchidachi’s exposed kote (wrist). Uchidachi then catches shidachi’s sword to repeat the exercise on the opposite side.
There are variants uchidachi can play at driving shidachi’s sword with a snappy return to force shidachi to hit himself (or at least slow the counter cut). Alternatively, uchidachi can force the flow sequence to catch shidachi’s sword with the flat and, with a directed but relaxed drop of the shoulders, redirect shidachi’s sword down with a wrist flick. Play with the timing and distance – the purpose of repetitive action is to develop sensitivity to connection and visual acuity to see when the opening presents itself.
Combining uchi komi and kiri kaeshi we get san-no-tachi, with one critical addition to the footwork. The final domination is delivered only after uchidachi does a corkscrew by moving the backfoot behind without giving distance! Uchidachi’s sword is snapped to vertical while twisting to load the hips and then explode forward. This is playing the distance – similar to sabre/bowie fighting with the closing technique of ‘hiding behind the guard’ – where the blade/hilt defines the fixed point in space and the swordsman floats his body closer to his own hilt. Because the threat (blade) never comes closer to shidachi there is the illusion of constant measure – but uchidachi has moved his body into striking distance.
The beauty of playing weapons is the additional levels of sensitivity and control one develops. Learning shin-kokyu as a ‘fade’ or absorbing action is far more effective than taught as a ‘rowing exercise’ because you have an immediate application. Mastering the weapon

play, the transition back to empty hand is now richer. San-no-tachi as R/L (cut over) to L/R (cut over) to ai-hanmi-ikkyo with the grape-vine foot work. Suddenly a simple exercise has new life as a flow transition.
