Alan King had a comedy routine in the 1980s based entirely on obituaries – all culminating with the punchline “survived by his wife.” So I was amused to find this obituary:
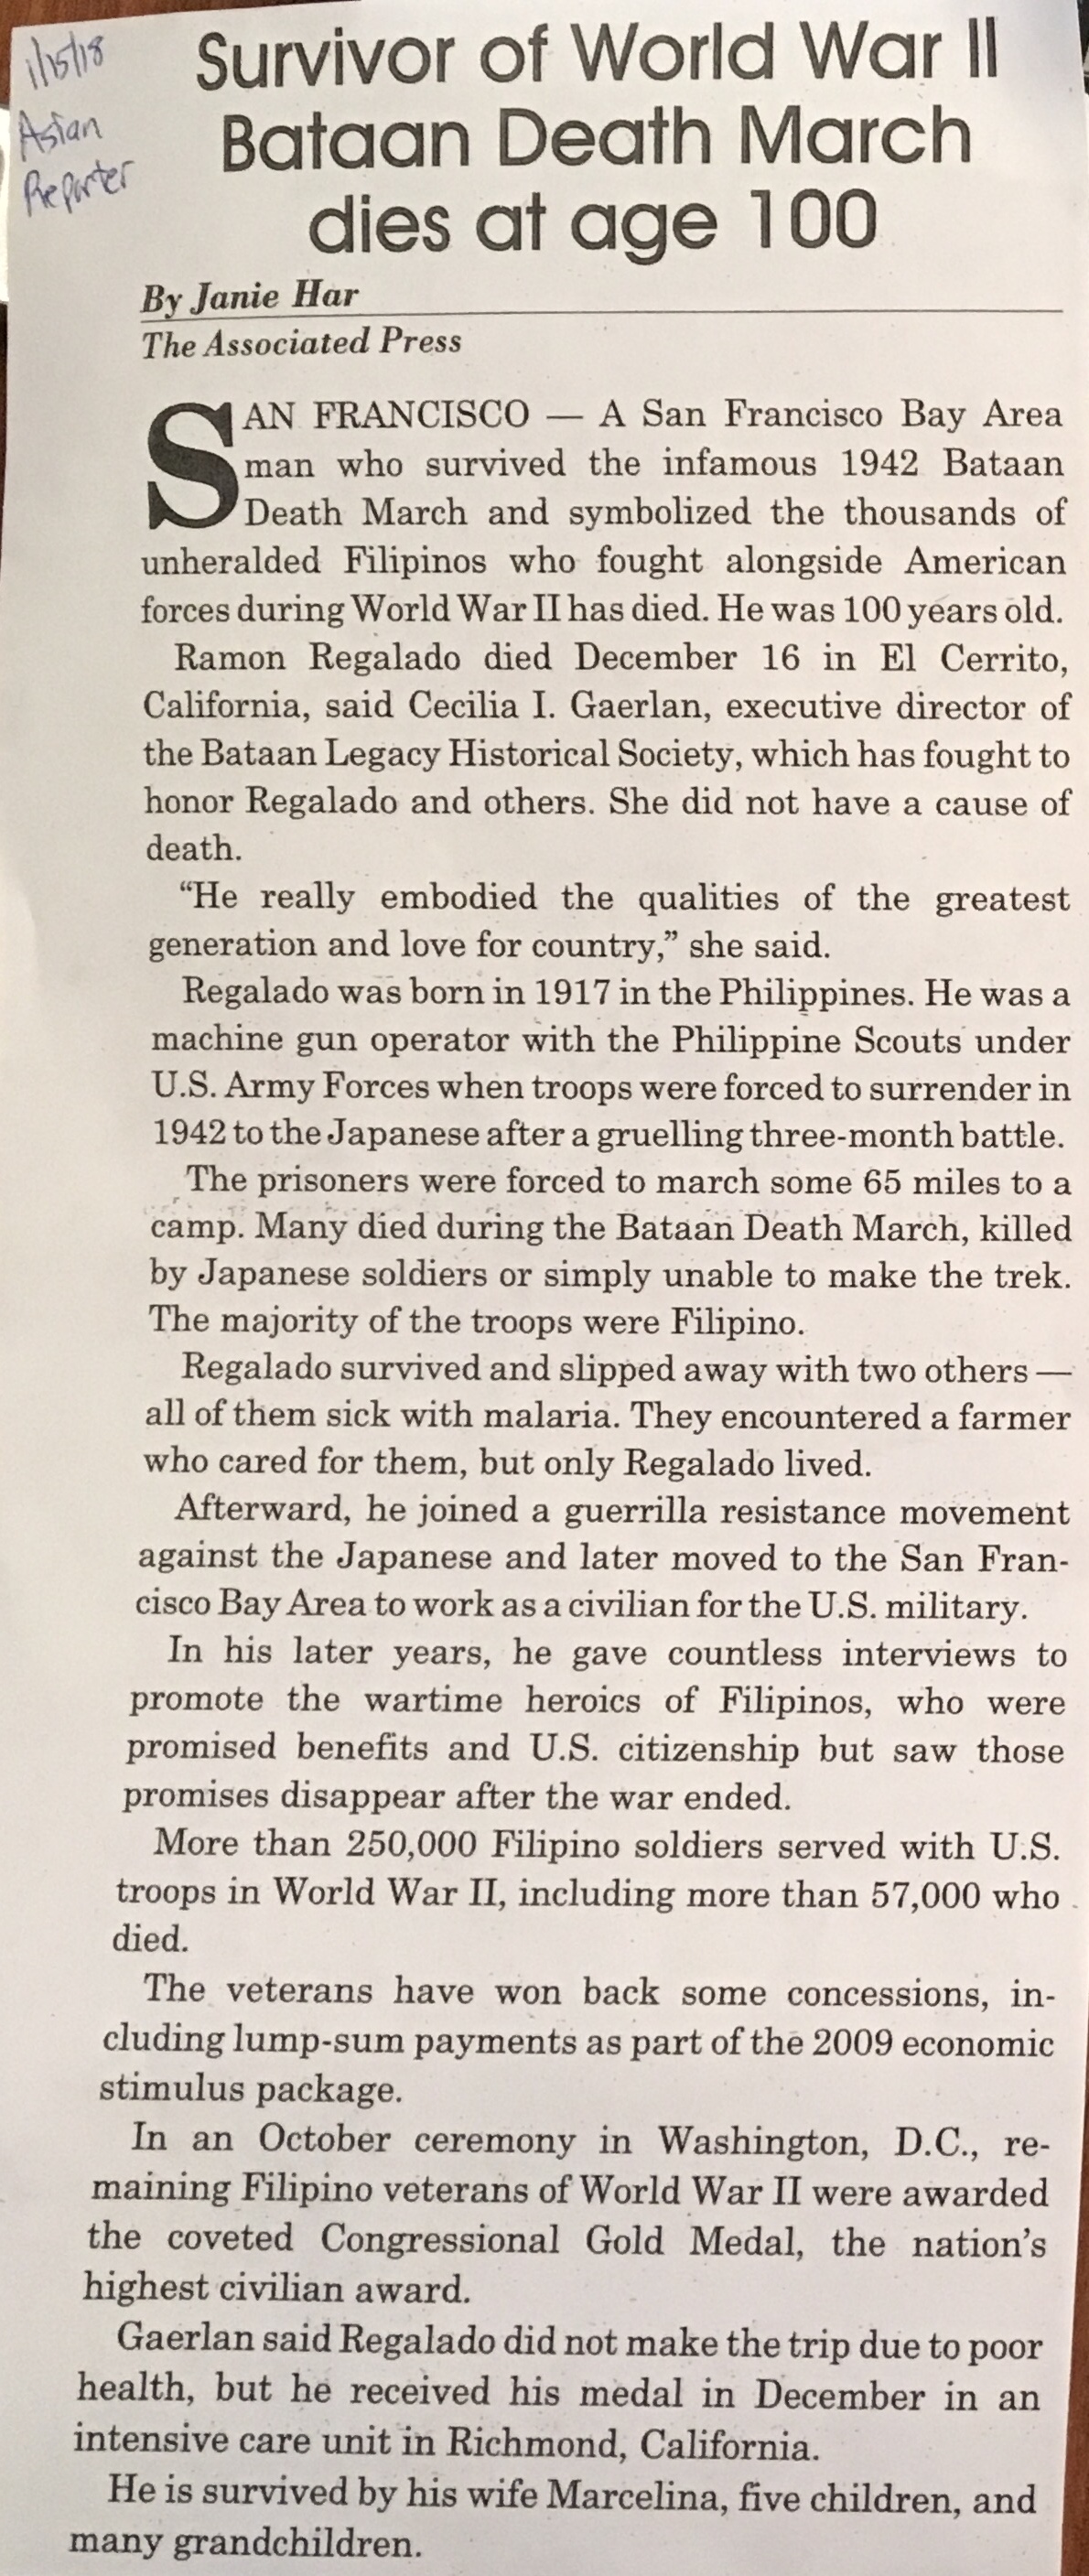
But amusement was soon replaced by other emotions. Outrage at the atrocities of the Bataan Death March (a chronicle of the rescue mission to free the survivors is Ghost Soldiers) and at abandoning the Filipino warriors (the US has an abysmally pathetic record in abandoning our insurgent allies).[1] Let me be perfectly clear, even a cursory read of history will show that no one culture, place, or time has a monopoly on egregious violence or moral atrocities, so I am not chastising anything other than the sad ability of humans to be perfectly terrible to one another.
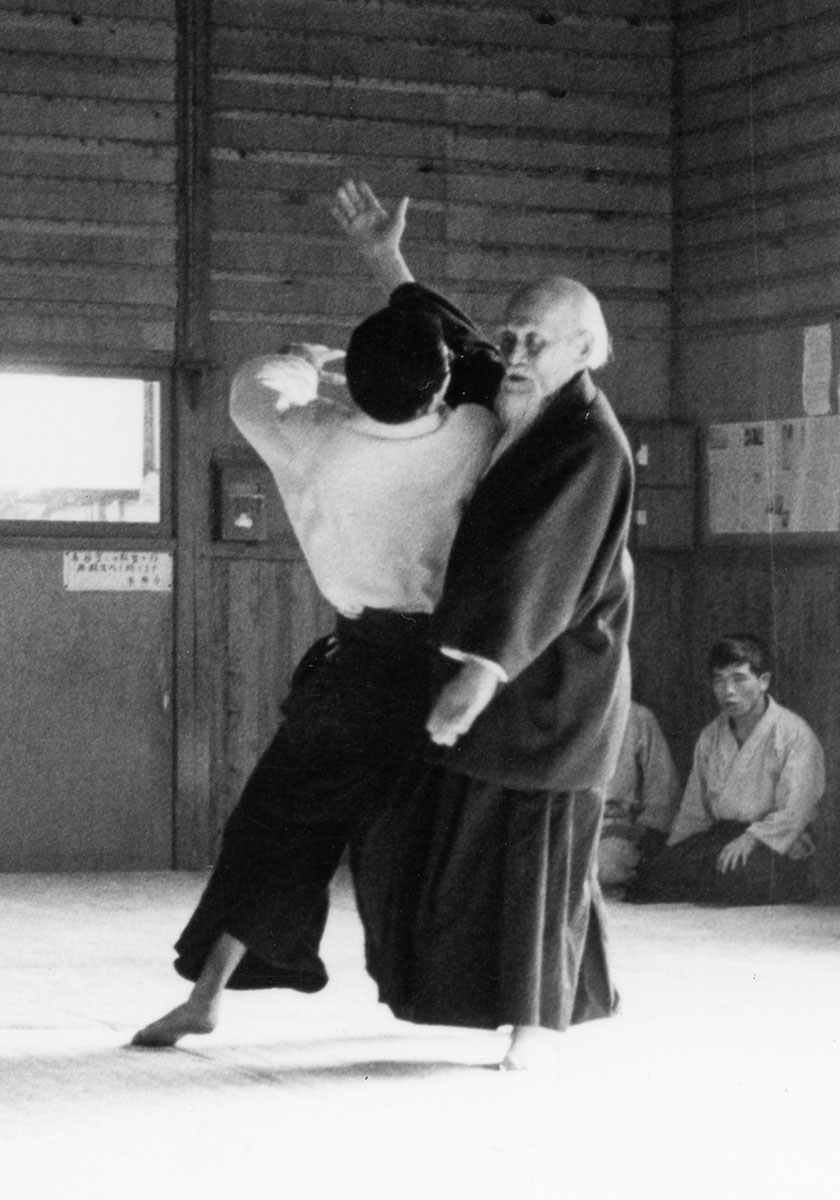
Learning from history is the best defense against repeating it. (Charlie Stross makes a similar, but far more cogent, observation.) So remember that whatever the later religio-philosophical underpinnings of Aikido in the post-war era, never forget that O’Sensei taught his art to the military elites at the Nakano school and was very much a nationalist before the war. However he may have packaged it in later years, this art we study has a very serious origin with military applicability.[2]
So how do we explain the transformation to a way of peace? Imagine the deep lesson in the immediate aftermath of World War 2. O’Sensei lost many students to combat and witnessed the horrific destruction in Hiroshima and Nagasaki. Simple violence only leads to destruction; hence a way of peace.[3]
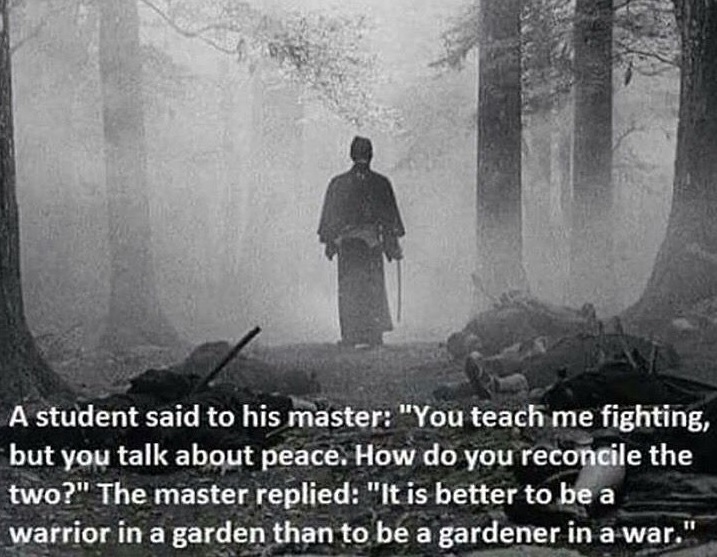
And we should embrace this history because it contains an important reminder. Without combat-effectiveness, the higher moral values of the martial arts can never manifest. The sword that preserves life must be just as sharp and even more skillfully wielded than the killing sword. Only the superior warrior can be a pacifist. A pacifist without martial skill can only be a victim.[4]
___________
Killing Sword (satsujinken) and Life Giving Sword (katsujinken)
The epitome of a life-giving sword – manifest in the sword itself – is the apocryphal competition between two smiths: Goro Masamune and Sengo Muramasa. Both were exceptional craftsman and held a competition to test who could make the better blade. To test the sharpness each placed his blade in a river edge facing upstream.
As leaves and fish came downstream, Muramasa’s blade cleanly sliced everything that touched it. Masamune’s blade only cut leaves and repelled the fish.
Muramasa declared himself the better smith, but a monk passing by witnessed the competition and declared that Masamune’s blade cut only dead things and preserved the living. Masamune’s blade was a Life Giving sword. Like most great stories, this encounter was impossible. Muramasa (who is often portrayed as Masamune’s disciple) lived during the Muramachi period (between the 14th and 16th centuries) whereas Masamune was centuries earlier in the Kamakura period (between 13th and 14th centuries). [In the classic (1986) movie Highlander, Sean Connery plays Juan Sanchez Villa-Lobos Ramirez who wields a Masumune blade – albeit forged in 593 BC to confuse the timeline even more…]
An excellent movie presentation of the life-giving-sword is After the Rain (1999) watch closely the fight in the forest where the ronin uses only the flat of the blade and the mune (false edge). The only lethal blow is delivered by an antagonist against another.
___________
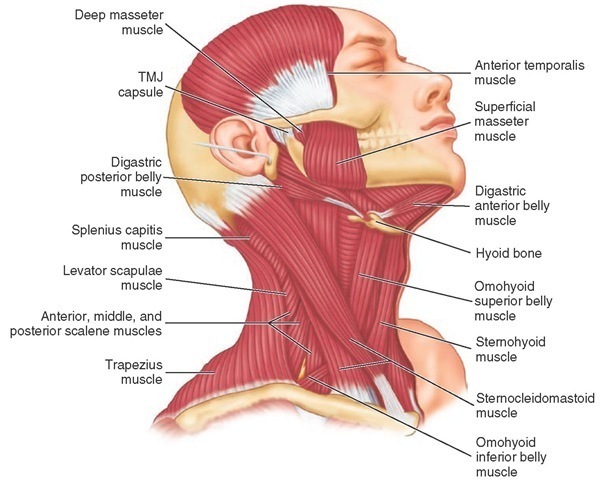
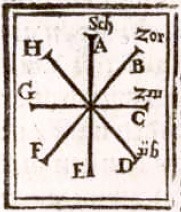
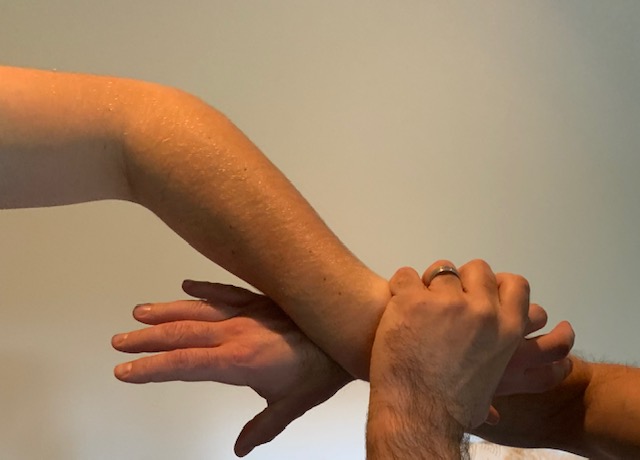
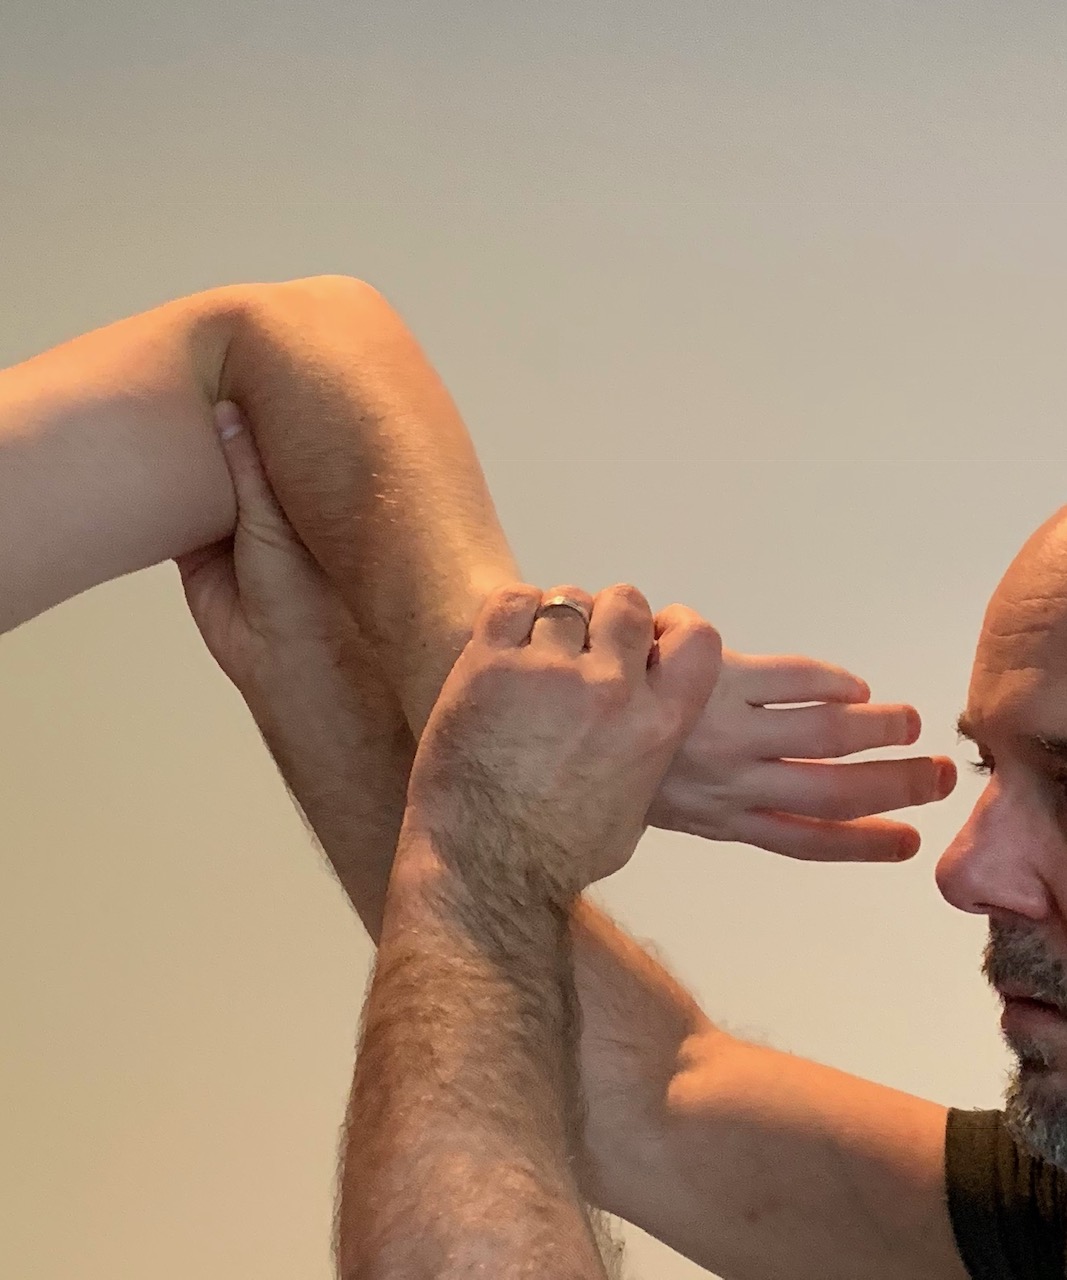
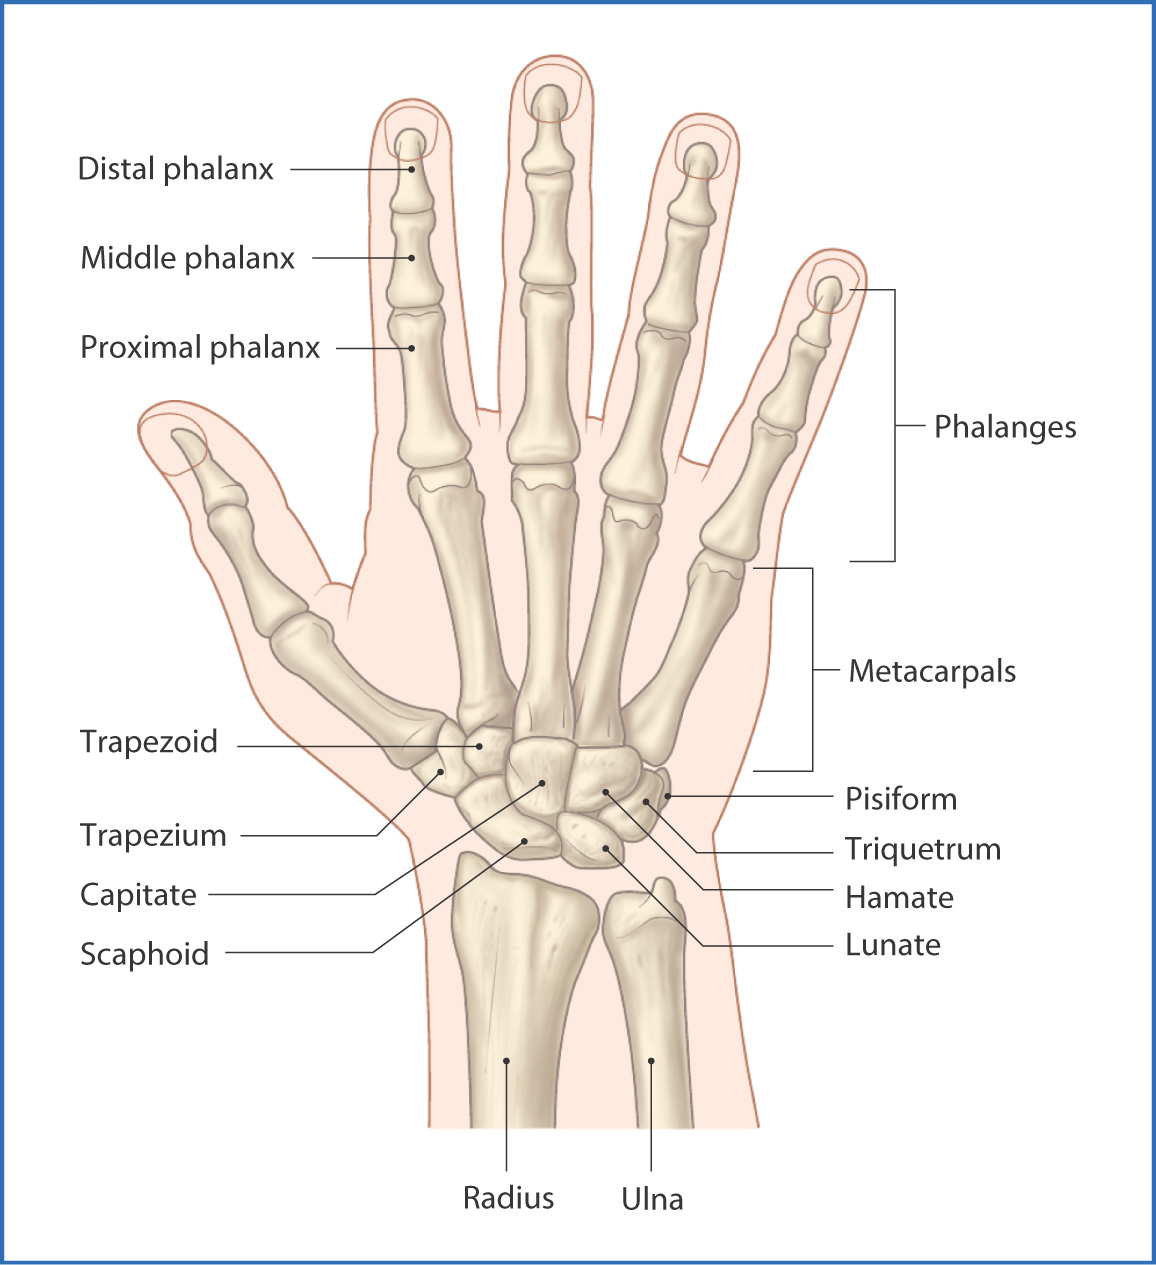
How does this inform the actual practice of Aikido – the nuts and bolts of body mechanics? Your arm is your sword, your hand is the blade. The shyuto is the cutting edge (the ha), the thumb is the mune (back of the blade – false edge). [4] Therefore whenever nage executes a throw with the shyuto toward uke, that is a life-taking application. The easiest demonstration is when throwing irimi-nage. The kihon deploys firm control of uke’s sternomastoid muscle to complete the connection of uke’s head to nage’s shoulder so that as nage executes the throw, uke’s chin is rotated, but the neck is supported even while being manipulated – and importantly – nage’s hand completes the arc with the thumb down (and nage’s arm in the same shape as if performing a forward roll). This is a demonstration of katsujinken. The more immediate rising then descending cut with the shyuto leading is satsujinken. Notice that this form of throw can be a direct strike and does not require the same level of control and can be executed at a variety of ranges. The kihon form of irimi nage can only be done at the grappling range.
“Verily, I have often laughed at the weaklings who thought themselves good because they had no claws.”
Nietzsche, Thus Spoke Zarathustra, Part II, Chapter 13, “The Sublime Ones”.
Wenn die Macht gnädig wird und herabkommt ins Sichtbare: Schönheit heiße ich solches Herabkommen. Und von niemandem will ich so als von dir gerade Schönheit, du Gewaltiger: deine Güte sei deine letzte Selbst-Überwältigung. Alles Böse traue ich dir zu: darum will ich von dir das Gute. Wahrlich, ich lachte oft der Schwächlinge, welche sich gut glauben, weil sie lahme Tatzen haben!
- When power becomes gracious and descends into the visible — such descent I call beauty. And there is nobody from whom I want beauty as much as from you who are powerful: let your kindness be your final self-conquest. Of all evil I deem you capable: therefore I want the good from you. Verily, I have often laughed at the weaklings who thought themselves good because they had no claws.
___________
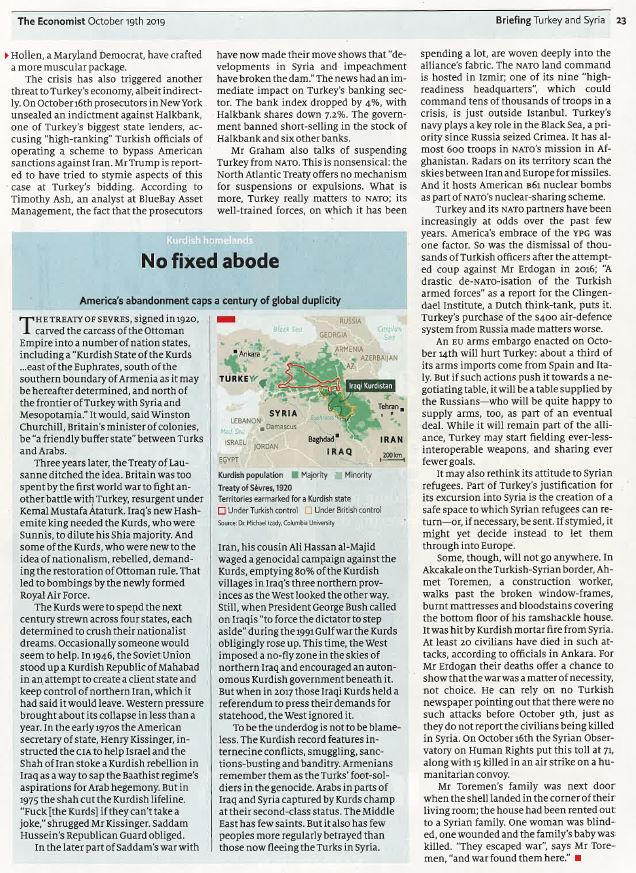
[1] Update – May 2022. Turkey continues to press the Kurds.
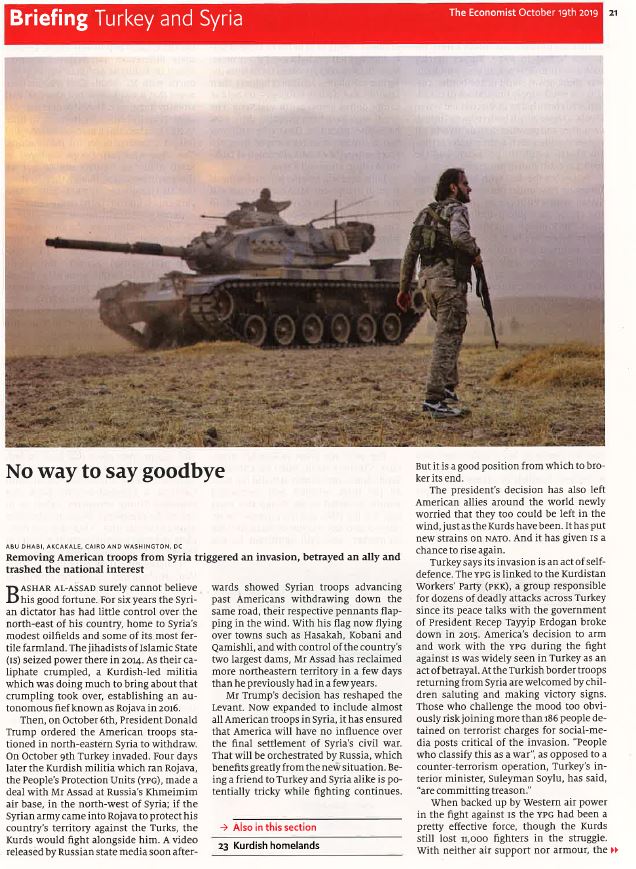
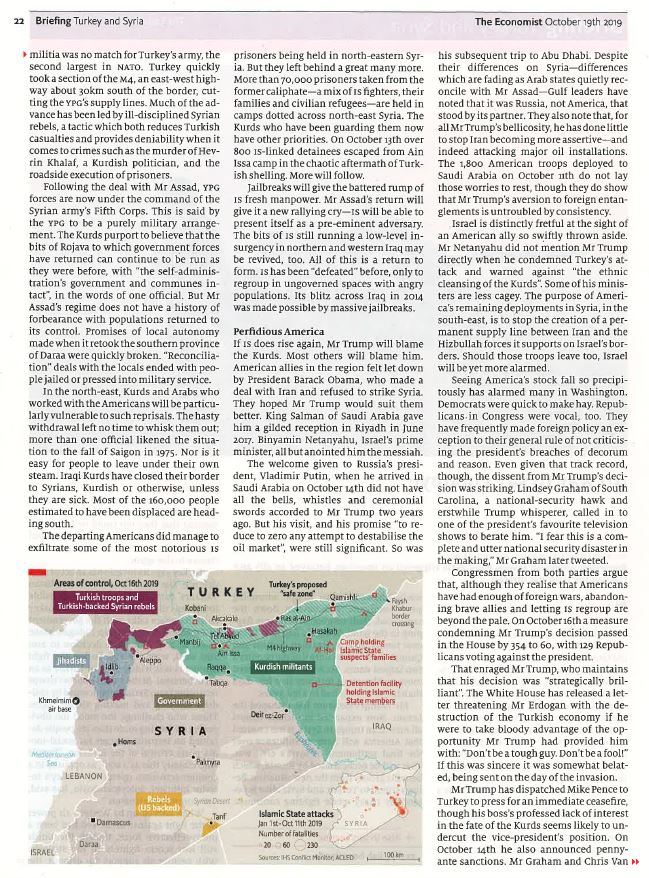
Update – October 2019. Again, the US has abandoned another ally. Through unilateral stupidity and against the advice of almost everyone, Donald Trump issued a general withdraw of US troops supporting the Kurds. The Economist summarized the situation all too well (see below).

[2] Morihei Ueshiba’s curriculum was eventually deemed ‘too technical’ for the students of the Nakano School and circa 1942, he was replaced with a karate instructor. Gozo Shioda recounts Ueshiba’s connection to the Nakano School:
“Ueshiba Sensei went to the Nakano school through an introduction of the director of the Military Police School, Mr. Makoto Miura. Since the Nakano School was located in Nakano in Meguro Ward and the Toyama School was located nearby in Okubo, they weren’t that far away from the Ueshiba dojo. Ueshiba Sensei also taught at the Army University in Yotsuya and at the Naval Academy. Mr. Sankichi Takahashi was the director of the Naval Academy and it was through this connection that Ueshiba Sensei taught there. At that time, Prince Takamatsu, a younger brother of Emperor Hirohito, was a student at the Naval Academy. Ueshiba Sensei regularly taught budo as a compulsory subject at the Toyama and Nakano Schools.”
[3] The cynic in me muses that the change from imperialist/ultra-nationalist to a visionary of world peace was a brilliant stratagem by a warrior who acknowledged the reality of living in an occupied nation. Ueshiba re-packaged his art to make it palatable to MacArthur who controlled post-war Japan and was prosecuting war crimes.
[4] The gun is the sword of the modern warrior tasked with preserving Peace.
[5] A link to learn terminology – the Japanese Sword Visual Glossary
.